Accessing Raspberry Pi from Windows has never been easier, and in this guide, we’ll walk you through the entire process step by step so even a total noob can get it right. If you’ve been scratching your head wondering how to connect your Raspberry Pi to your Windows PC, you’re in the right place. This guide will save you hours of frustration and help you unlock the full potential of your Pi.
Picture this: You’ve got your shiny new Raspberry Pi sitting on your desk, but you’re stuck with a Windows computer and no clue how to get them talking to each other. Don’t worry, because we’ve got you covered. Whether you’re setting up a home server, running a media center, or just tinkering around, accessing Raspberry Pi from Windows is a must-know skill for any tech enthusiast.
Before we dive in, let’s clear up something important—this guide isn’t just for advanced users. If you’re new to Raspberry Pi or even computers in general, don’t sweat it. We’ll break everything down in simple terms so you can follow along without feeling overwhelmed. Let’s get started!
Read also:Halloween Prisoner Makeup Unlock Your Creativity This Spooky Season
Why Access Raspberry Pi from Windows?
First things first—why would you even want to access Raspberry Pi from Windows? Well, there are tons of reasons! Whether you’re setting up a headless Raspberry Pi (that’s tech talk for running it without a monitor), managing files, or running remote applications, being able to connect your Pi to your Windows PC opens up a world of possibilities. Plus, who doesn’t love the satisfaction of making two devices talk to each other?
Here are some cool reasons why you should bother:
- Run commands remotely without needing a keyboard or monitor for your Pi
- Transfer files between your Windows PC and Raspberry Pi effortlessly
- Set up and manage headless configurations
- Monitor your Pi’s performance and activity from your Windows machine
And the best part? You don’t need any fancy hardware or expensive software to make it happen. All you need is a little know-how, which is exactly what we’re here to provide.
What You’ll Need to Get Started
Before we jump into the nitty-gritty, let’s make sure you’ve got everything you need to access Raspberry Pi from Windows. Here’s a quick checklist:
- Raspberry Pi: Obviously, you’ll need one of these bad boys. Any model will do as long as it’s running Raspberry Pi OS or a compatible Linux distro.
- Windows PC: Yep, that’s the whole point—connecting your Pi to your Windows machine.
- Ethernet Cable or Wi-Fi: You’ll need a network connection to link the two devices. Ethernet is more stable, but Wi-Fi works too.
- Raspberry Pi OS: Make sure your Pi is up and running with the latest version of the OS.
- SSH Enabled: SSH (Secure Shell) is the secret sauce that lets you access your Pi remotely. We’ll show you how to enable it later.
Got all that? Great! Let’s move on to the fun part.
Step 1: Enable SSH on Your Raspberry Pi
SSH is the backbone of remote access, and enabling it is super easy. Here’s how you do it:
Read also:Pedro Raccoon Origin The Untold Story Of A Wild Legend
Option 1: Using the Raspberry Pi Configuration Tool
Log into your Raspberry Pi and open the terminal. Type the following command:
sudo raspi-config
Once the config menu pops up, navigate to Interfacing Options > SSH and hit Enter. Choose Yes when prompted to enable SSH, and you’re good to go.
Option 2: Create an SSH File
If you’re setting up a headless Raspberry Pi, you can enable SSH by creating an empty file named SSH on your Pi’s boot partition. Here’s how:
- Insert your Raspberry Pi’s SD card into your Windows PC.
- Open File Explorer and navigate to the boot partition.
- Create a new text file and name it exactly SSH (no file extension).
- That’s it! When you boot your Pi, SSH will be enabled automatically.
Now that SSH is up and running, let’s move on to the next step.
Step 2: Find Your Raspberry Pi’s IP Address
Your Pi’s IP address is like its digital mailing address. Without it, your Windows PC won’t know where to send commands or files. Here’s how to find it:
Method 1: Check in the Terminal
Log into your Raspberry Pi and open the terminal. Type the following command:
hostname -I
This will display your Pi’s IP address, which usually looks something like 192.168.1.100.
Method 2: Use a Network Scanner
If you’re running a headless Pi, you can use a network scanner app like Advanced IP Scanner (free and works great on Windows) to find your Pi’s IP address. Just scan your network, and it’ll show up with the name Raspberry Pi or similar.
Once you’ve got your Pi’s IP address, write it down—it’s crucial for the next steps.
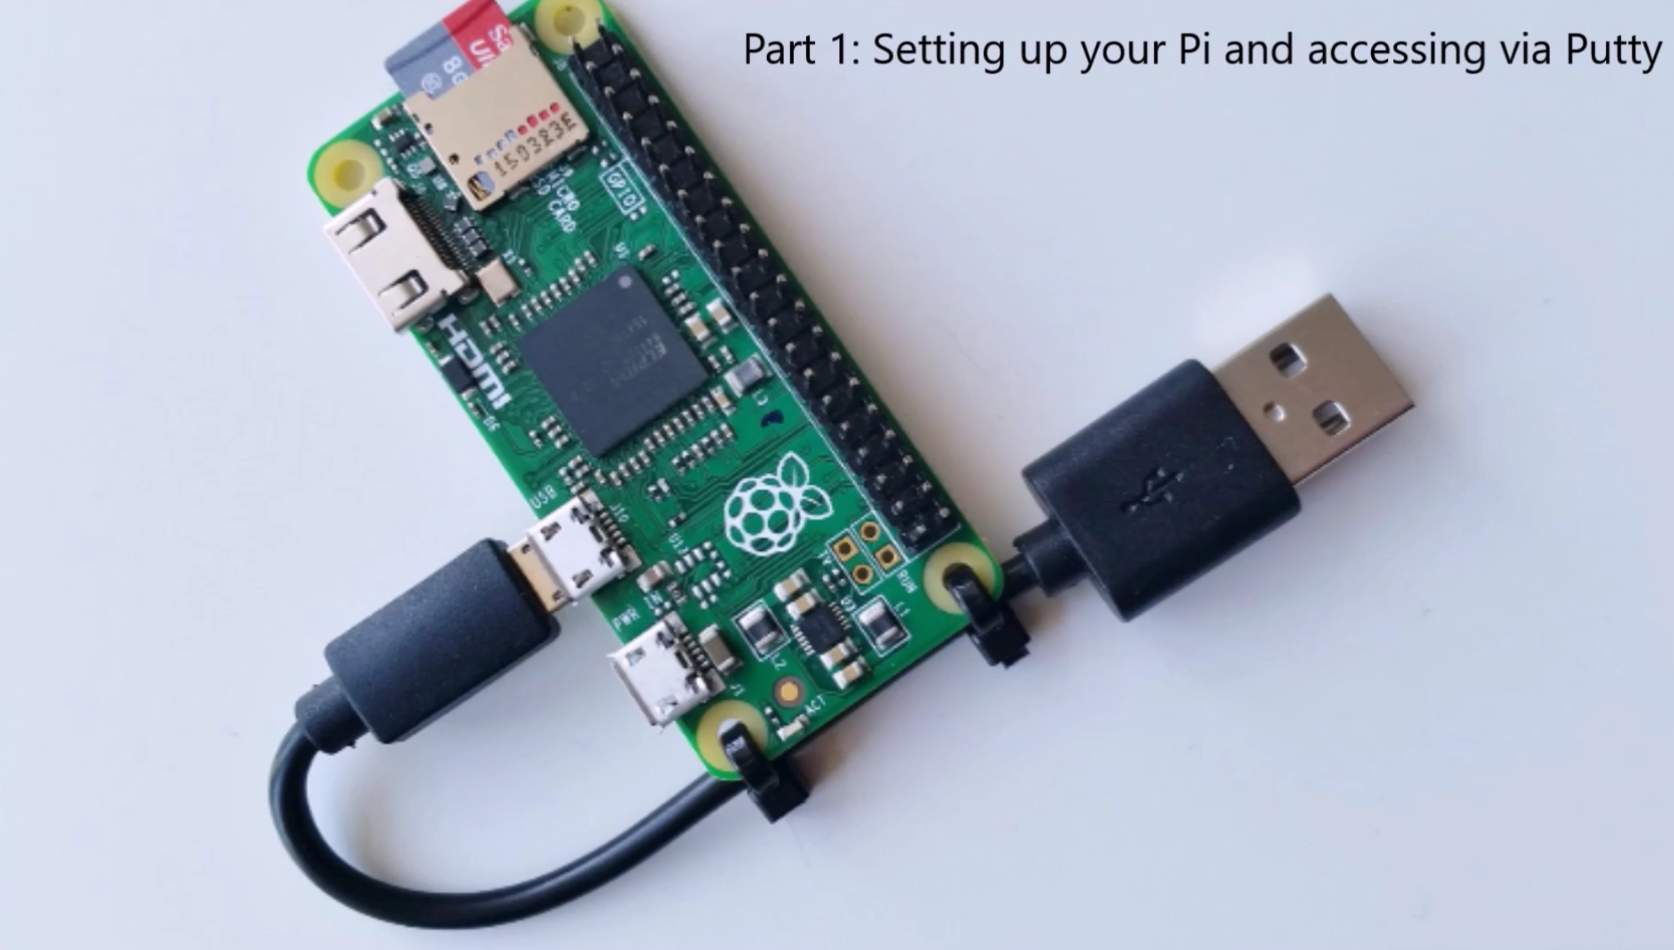
Step 3: Install PuTTY on Your Windows PC
PuTTY is a free and awesome SSH client that lets you connect to your Raspberry Pi from Windows. Here’s how to set it up:
- Download PuTTY from the official website (putty.org).
- Run the installer and follow the prompts to install it on your PC.
- Open PuTTY and enter your Raspberry Pi’s IP address in the Host Name field.
- Set the Port to 22 (default for SSH) and choose SSH as the connection type.
- Click Open, and you’ll be prompted to log in with your Pi’s username and password.
Voilà! You’re now connected to your Raspberry Pi via SSH. Type commands in the terminal window just like you would if you were sitting in front of your Pi.
Step 4: Transfer Files Between Windows and Raspberry Pi
File transfers are a breeze once you’ve got SSH set up. Here’s how to do it:
Using SCP (Secure Copy Protocol)
SCP is a command-line tool that lets you copy files between your Windows PC and Raspberry Pi. Here’s an example:
To copy a file from Windows to Pi:
scp C:\path\to\file.txt pi@192.168.1.100:/home/pi/
To copy a file from Pi to Windows:
scp pi@192.168.1.100:/home/pi/file.txt C:\path\to\destination\
Replace the paths and IP address with your actual file locations and Pi’s address.
Using WinSCP
WinSCP is a graphical SCP client that makes file transfers even easier. Here’s how to use it:
- Download and install WinSCP from the official website.
- Open WinSCP and enter your Pi’s IP address, username, and password.
- Click Login, and you’ll see a file manager interface where you can drag and drop files between your PC and Pi.
Now you’ve got two ways to transfer files—pick whichever works best for you.
Step 5: Set Up VNC for Remote Desktop Access
If you want to see your Raspberry Pi’s desktop from your Windows PC, VNC is the way to go. Here’s how to set it up:
Enable VNC on Raspberry Pi
Log into your Pi and open the terminal. Type the following command:
sudo apt-get install realvnc-vnc-server realvnc-vnc-viewer
Once installed, enable VNC by running:
sudo raspi-config
Go to Interfacing Options > VNC and choose Yes to enable it.
Install VNC Viewer on Windows
Download VNC Viewer from the official website and install it on your PC. Open VNC Viewer and enter your Pi’s IP address to connect. You’ll be prompted to log in with your Pi’s username and password, and then you’ll see your Pi’s desktop right on your Windows screen.
Now you can control your Pi just like you would any other computer—pretty cool, huh?
Step 6: Automate the Process with Scripts
Once you’ve got the basics down, you can take things to the next level by automating tasks with scripts. For example, you could write a script that automatically backs up files from your Pi to your Windows PC every night. Here’s a simple example:
#!/bin/bash
scp /home/pi/backup.tar.gz user@windows-pc:/path/to/backup/
Save this script on your Pi and set it to run using a cron job. Easy peasy!
Tips and Tricks for Smoother Access
Here are a few extra tips to make accessing your Raspberry Pi from Windows even easier:
- Use a static IP address for your Pi to avoid having to look it up every time.
- Consider using SSH keys for passwordless login—it’s more secure and convenient.
- Install a firewall on your Pi to protect it from unauthorized access.
- Keep your Raspberry Pi OS and all installed software up to date for the best performance.
These tips might seem small, but they can make a big difference in the long run.
Common Issues and Troubleshooting
Even with the best instructions, things can go wrong sometimes. Here are some common issues and how to fix them:
Issue 1: Can’t Connect via SSH
Make sure SSH is enabled on your Pi and that your Windows PC is on the same network. Double-check the IP address and try restarting both devices.
Issue 2: Slow File Transfers
If file transfers are taking forever, try switching to Ethernet instead of Wi-Fi for a more stable connection. You can also compress files before transferring them to speed things up.
Issue 3: VNC Connection Fails
Ensure VNC is properly installed and enabled on your Pi. Check your firewall settings to make sure they’re not blocking VNC traffic.
With these troubleshooting tips, you should be able to conquer most issues that come your way.
Conclusion: Take Your Raspberry Pi Skills to the Next Level
And there you have it—a complete guide to accessing Raspberry Pi from Windows. Whether you’re setting up a headless Pi, managing files, or running remote applications, the skills you’ve learned here will serve you well. Remember to keep practicing and experimenting—there’s always more to discover in the world of Raspberry Pi.
Now it’s your turn! Try out the steps we’ve covered and see how far you can take your Raspberry Pi setup. Don’t forget to leave a comment below letting us know how it went. If you found this guide helpful, share it with your friends and check out our other tutorials for more awesome tech tips.
Table of Contents
- Why Access Raspberry Pi from Windows?
- What You’ll Need to Get Started
- Step 1: Enable SSH on Your Raspberry Pi
- Step 2: Find Your Raspberry Pi’s IP Address
- Step 3: Install PuTTY on Your Windows PC
- Step 4: Transfer Files Between Windows and Raspberry Pi
- Step 5: Set Up VNC for Remote Desktop Access
- Step 6: Automate the Process with Scripts
- Tips and Tricks for Smoother Access
- Common Issues and Troubleshooting