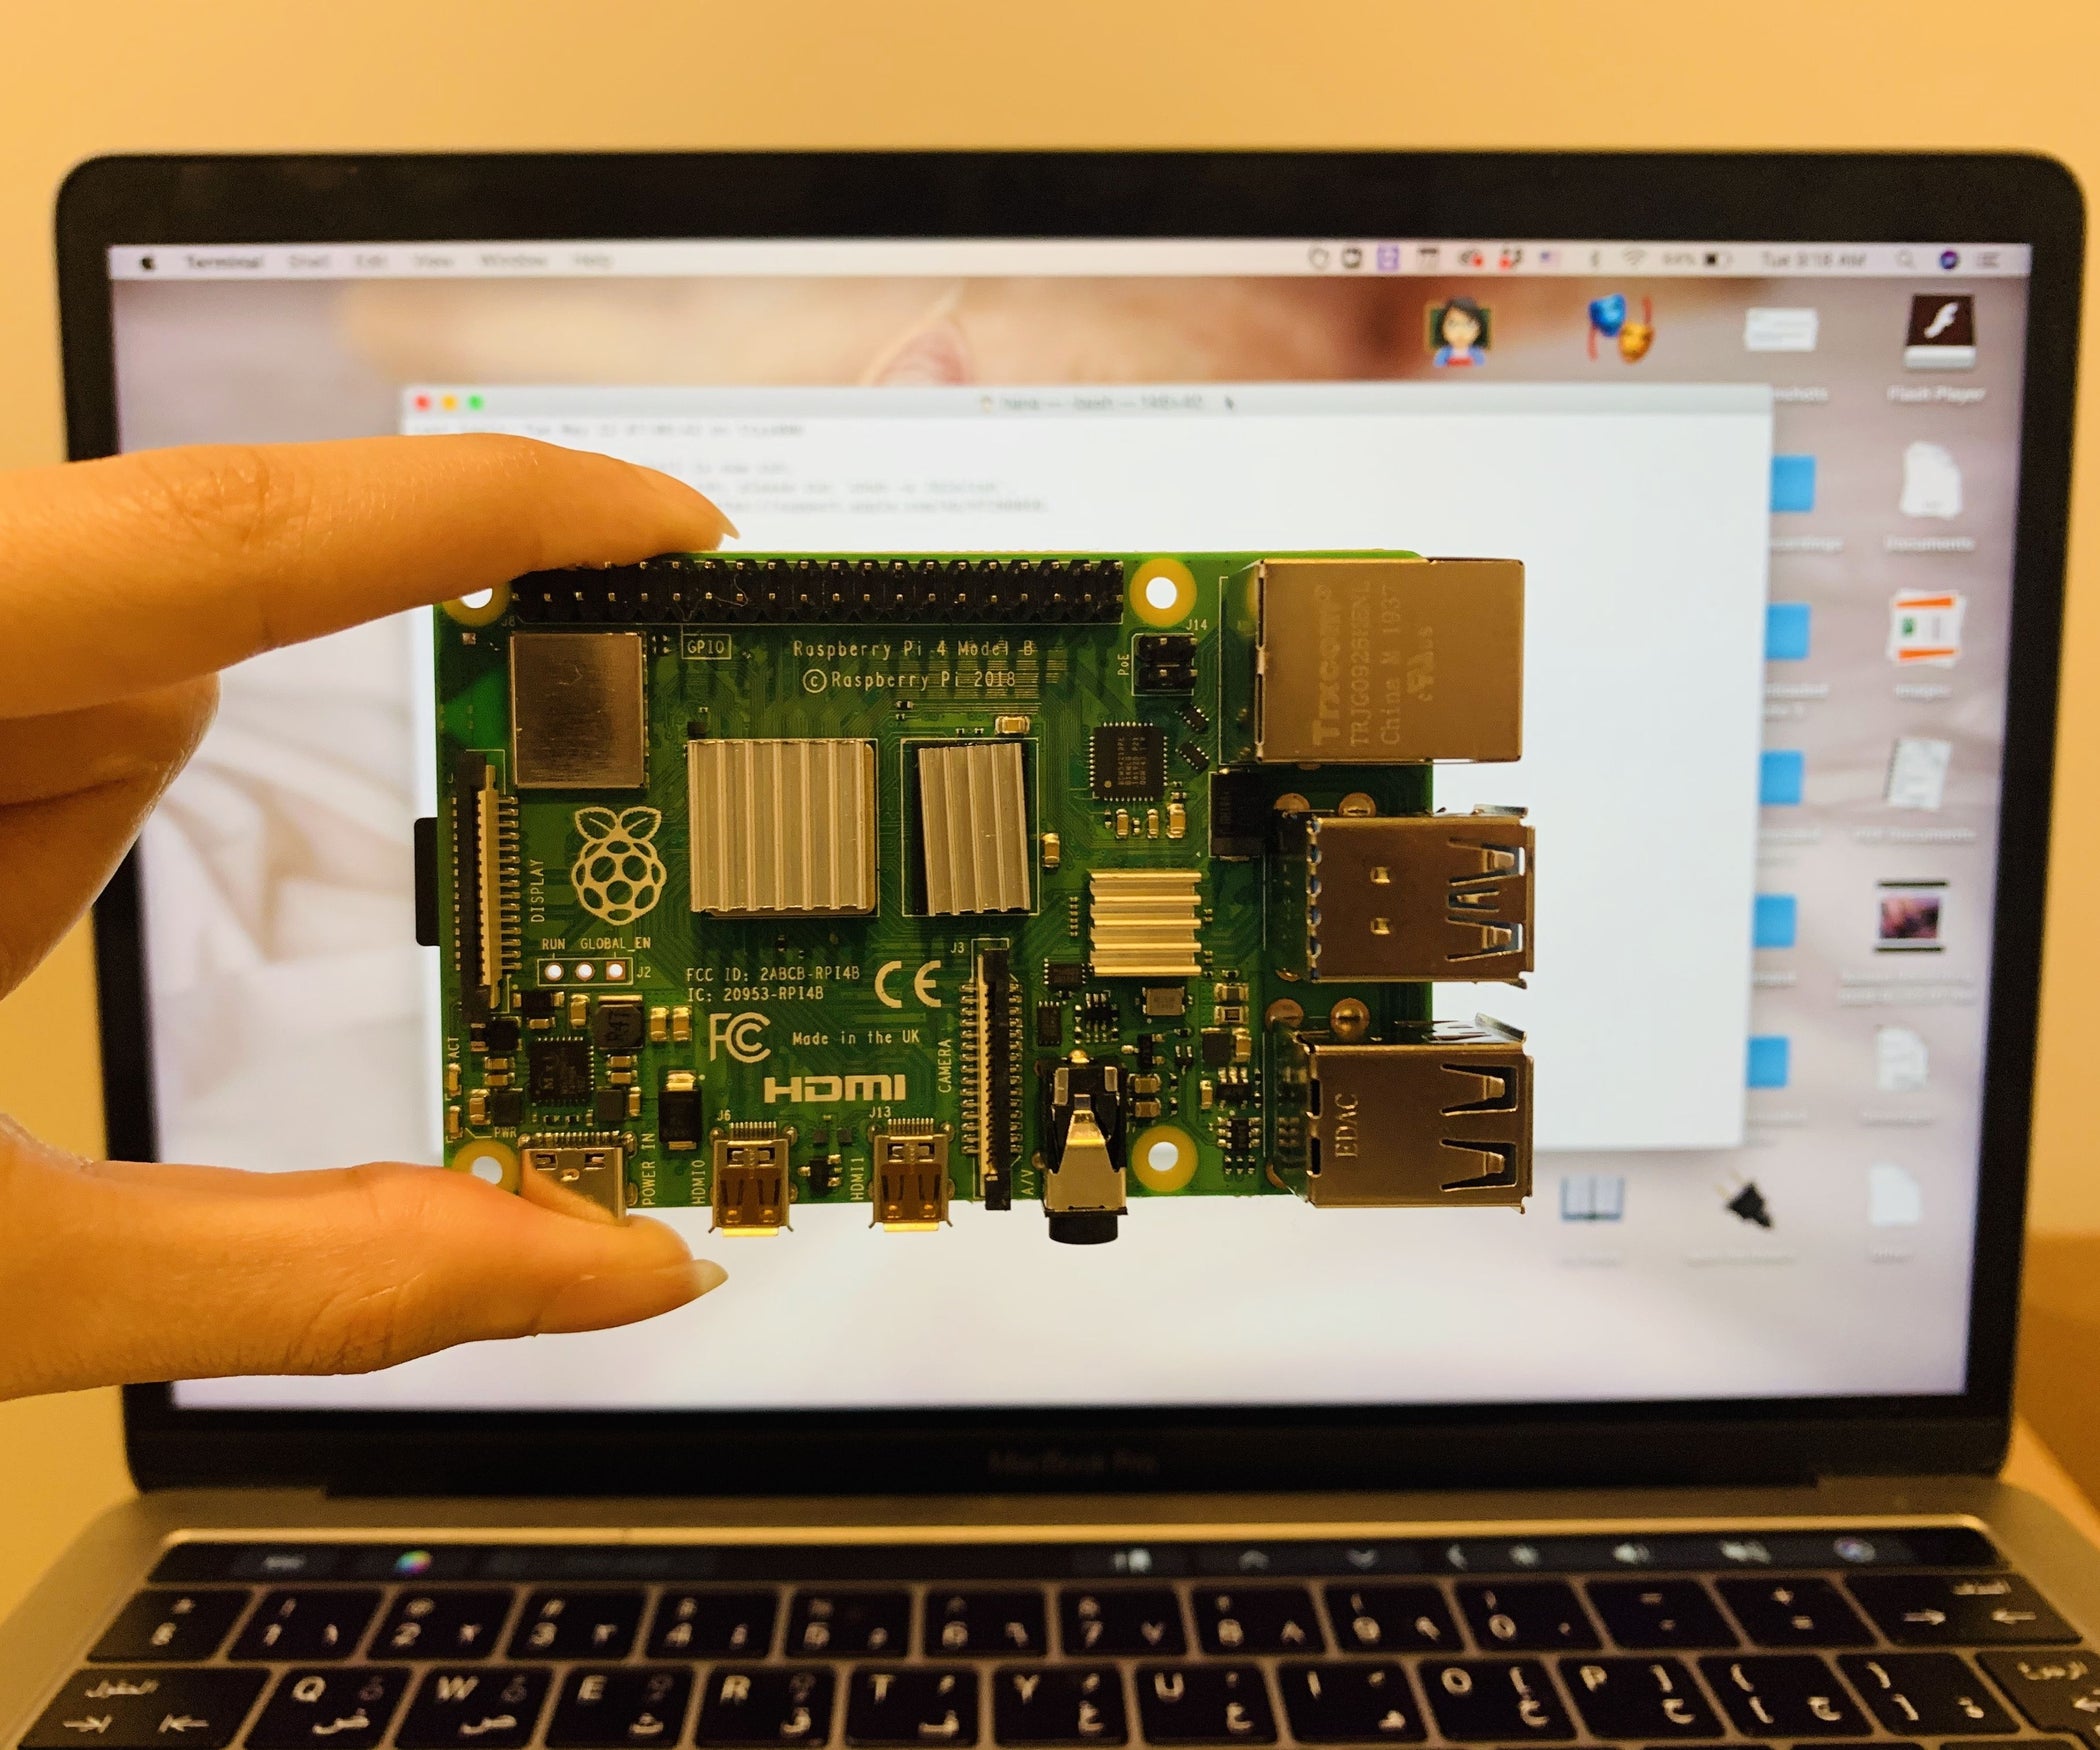
Remote access to a Raspberry Pi from a Mac has become an essential skill for tech enthusiasts and professionals alike. As more people embrace the versatility of Raspberry Pi devices, understanding how to connect them remotely opens up a world of possibilities. Whether you're managing home automation systems, running servers, or experimenting with IoT projects, accessing your Raspberry Pi remotely can save time and enhance productivity. However, the process involves several steps and considerations, especially when using a Mac as the host device. This guide dives deep into the methods, tools, and best practices for achieving seamless remote access, ensuring you're equipped with the knowledge to tackle any challenge.
Connecting a Raspberry Pi remotely using a Mac might seem daunting at first, but with the right approach, it becomes straightforward. This article explores the step-by-step process, addressing common hurdles and offering practical solutions. By leveraging SSH (Secure Shell), VNC (Virtual Network Computing), and other tools, you can establish secure connections that allow full control over your Raspberry Pi without physical access. Moreover, understanding network configurations, security settings, and troubleshooting techniques will ensure smooth operation in both local and remote environments.
As we delve into this topic, it's important to emphasize the significance of security in remote access. With increasing cyber threats, safeguarding your Raspberry Pi is paramount. This guide not only covers the technical aspects but also provides insights into maintaining robust security protocols. Whether you're a beginner or an experienced user, this resource aims to equip you with the tools and confidence to manage your Raspberry Pi remotely with ease. Let’s explore how you can unlock the full potential of your device.
Read also:What Does Lfgg Mean Unlock The Mystery Behind This Trending Term
Table of Contents
- 1. Why Is Remote Access to Raspberry Pi Important?
- 2. How Do You Access Raspberry Pi Device Remotely Using Mac?
- 3. What Are the Best Tools for Remote Access?
- 4. Setting Up SSH for Remote Access
- 5. Exploring VNC as an Alternative Method
- 6. Troubleshooting Common Issues
- 7. Can You Secure Your Raspberry Pi During Remote Access?
- 8. Tips for Efficient Remote Management
- FAQs
- Conclusion
Why Is Remote Access to Raspberry Pi Important?
In today’s interconnected world, remote access to devices like the Raspberry Pi has become indispensable. For hobbyists, educators, and professionals, being able to control a Raspberry Pi from afar offers flexibility and convenience. Imagine being able to monitor home security systems, manage media servers, or troubleshoot IoT projects without needing to be physically present. Remote access empowers users to interact with their devices from anywhere, making it an invaluable skill for anyone working with Raspberry Pi.
From a practical standpoint, remote access simplifies maintenance and updates. Instead of manually plugging in peripherals or connecting monitors, users can perform tasks via their Macs. This saves time and reduces the need for additional hardware. Additionally, remote access facilitates collaboration, allowing multiple users to work on the same project simultaneously. Whether you're troubleshooting code or sharing files, having remote capabilities enhances productivity and efficiency.
Furthermore, remote access plays a critical role in ensuring continuity. In scenarios where physical access to the Raspberry Pi is restricted—such as during travel or emergencies—remote access ensures that critical systems remain operational. By learning how to access your Raspberry Pi device remotely using Mac, you gain a powerful tool that aligns with modern technological demands.
How Do You Access Raspberry Pi Device Remotely Using Mac?
Accessing a Raspberry Pi remotely using a Mac involves several key steps, each building upon the last to create a secure and functional connection. At its core, the process revolves around enabling specific protocols on the Raspberry Pi and configuring your Mac to communicate with it. The two primary methods—SSH and VNC—offer distinct advantages depending on your needs. Let’s break down the process step by step.
First, ensure that your Raspberry Pi is properly configured for remote access. Begin by enabling SSH in the Raspberry Pi Configuration settings. This can typically be done through the graphical interface or via the terminal. Once enabled, note the IP address of your Raspberry Pi, which serves as the unique identifier for establishing the connection. On your Mac, open Terminal and enter the command `ssh pi@
Alternatively, consider using VNC for a graphical interface. Install RealVNC Server on your Raspberry Pi and RealVNC Viewer on your Mac. After configuring both applications, connect by entering the Raspberry Pi’s IP address in the VNC Viewer. This method allows you to interact with the desktop environment as if you were physically present. Regardless of the method chosen, ensuring proper network settings and firewall configurations is crucial for a successful connection.
Read also:Broward Vee Real Name The Untold Story Behind The Viral Sensation
What Are the Key Steps in Setting Up SSH?
Setting up SSH is fundamental to accessing your Raspberry Pi remotely. Start by enabling SSH on your Raspberry Pi, either through the desktop interface or by editing the boot configuration file. Once enabled, locate the IP address of your Raspberry Pi, which can usually be found using the `ifconfig` or `ip addr` command in the terminal. On your Mac, launch Terminal and use the SSH command to establish a connection. Below are the key steps:
- Enable SSH on the Raspberry Pi
- Identify the Raspberry Pi’s IP address
- Open Terminal on your Mac
- Enter the SSH command: `ssh pi@
` - Input the password when prompted
By following these steps, you create a secure and reliable connection that allows you to manage your Raspberry Pi remotely. Remember to change the default password for added security.
What Are the Best Tools for Remote Access?
When it comes to accessing a Raspberry Pi remotely, choosing the right tools is essential. Two of the most popular options are SSH and VNC, each catering to different user preferences and requirements. SSH, or Secure Shell, provides a text-based interface ideal for command-line operations. It’s lightweight, secure, and widely supported, making it a go-to choice for many users. On the other hand, VNC, or Virtual Network Computing, offers a graphical interface, allowing users to interact with the Raspberry Pi’s desktop environment as if they were sitting in front of it.
Beyond SSH and VNC, several third-party tools enhance the remote access experience. Applications like PuTTY (for Windows users) and Terminal (for Mac users) simplify SSH connections, while RealVNC and TightVNC provide robust VNC solutions. Additionally, tools like NoMachine and TeamViewer offer cross-platform compatibility, enabling seamless connections across various devices. When selecting a tool, consider factors such as ease of use, performance, and security features to ensure the best possible experience.
Ultimately, the choice of tool depends on your specific needs. For power users who prefer command-line interfaces, SSH remains unmatched. Meanwhile, those requiring a more intuitive, visual approach may find VNC or similar tools more appealing. Experimenting with different options can help you identify the best fit for your workflow.
How Do You Choose Between SSH and VNC?
Selecting between SSH and VNC largely depends on the tasks you intend to perform. If your work primarily involves scripting, configuring settings, or managing files, SSH is the better option due to its efficiency and speed. Conversely, if you need to interact with the graphical user interface (GUI), VNC provides the necessary capabilities. Below are some considerations to guide your decision:
- Task Complexity: For simple, text-based operations, SSH suffices. Complex, GUI-dependent tasks benefit from VNC.
- Performance: SSH consumes fewer resources, making it ideal for low-power devices. VNC requires more bandwidth and processing power.
- Security: Both SSH and VNC offer encryption, but SSH is often considered more secure for sensitive operations.
Weighing these factors will help you determine the most suitable tool for your remote access needs.
Setting Up SSH for Remote Access
Setting up SSH for remote access involves a series of straightforward steps that ensure a secure and reliable connection. Begin by enabling SSH on your Raspberry Pi. If you're using the graphical interface, navigate to the Raspberry Pi Configuration tool, select the Interfaces tab, and enable SSH. Alternatively, if you’re working headless (without a monitor or keyboard), create an empty file named `ssh` in the boot partition of your SD card. This automatically enables SSH upon boot.
Next, determine the IP address of your Raspberry Pi. Use the `hostname -I` command in the terminal to retrieve the address. If your Raspberry Pi is connected to a router, you can also find the IP address in the router’s admin panel. Once you have the IP address, open Terminal on your Mac and enter the SSH command: `ssh pi@
To enhance security, consider changing the default password and disabling password-based authentication in favor of SSH keys. Generate a key pair on your Mac using the `ssh-keygen` command, then copy the public key to your Raspberry Pi using `ssh-copy-id pi@
How Can You Secure SSH Connections?
Securing SSH connections is vital to protecting your Raspberry Pi from potential threats. Beyond changing the default password and enabling key-based authentication, additional measures can further bolster security. For instance, disable root login to prevent direct access to administrative privileges. Modify the SSH configuration file (`/etc/ssh/sshd_config`) to set `PermitRootLogin no` and restart the SSH service.
Additionally, consider limiting access to specific IP addresses or networks by configuring firewall rules. Use tools like `ufw` (Uncomplicated Firewall) to define rules that restrict incoming connections to trusted sources. Regularly updating your Raspberry Pi’s software and firmware also helps mitigate vulnerabilities. By implementing these best practices, you create a secure environment for remote access via SSH.
Exploring VNC as an Alternative Method
While SSH dominates the realm of remote access for Raspberry Pi, VNC offers a compelling alternative for users who prefer a graphical interface. VNC, or Virtual Network Computing, allows you to view and interact with the Raspberry Pi’s desktop environment as if you were physically present. This makes it particularly useful for tasks that require visual feedback, such as editing documents, running applications, or troubleshooting GUI-related issues.
To use VNC, start by installing RealVNC Server on your Raspberry Pi. This can be done through the desktop interface or by running the command `sudo apt install realvnc-vnc-server` in the terminal. Once installed, configure the server settings to enable remote access. On your Mac, download and install RealVNC Viewer, then enter the Raspberry Pi’s IP address to establish the connection. Upon successful connection, you’ll gain full control over the Raspberry Pi’s desktop.
It’s worth noting that VNC requires more bandwidth and processing power compared to SSH. Therefore, it’s advisable to optimize your network settings and ensure sufficient resources are available. Despite these requirements, VNC’s intuitive interface and versatility make it a valuable tool for managing Raspberry Pi devices remotely.
What Are the Advantages of Using VNC?
VNC offers several advantages that make it an attractive option for remote access. First and foremost, its graphical interface simplifies complex tasks that might otherwise be cumbersome through the command line. Below are some key benefits:
- Intuitive Interaction: VNC allows users to interact with the Raspberry Pi’s desktop environment, providing a familiar and user-friendly experience.
- File Sharing: VNC facilitates seamless file transfer between your Mac and Raspberry Pi, streamlining workflows.
- Collaboration: Multiple users can connect to the same VNC session, enabling collaborative efforts on shared projects.
By leveraging these advantages, VNC proves to be a powerful complement to SSH for remote access needs.
Troubleshooting Common Issues
Even with careful setup, issues may arise when accessing a Raspberry Pi remotely. Common problems include connection failures, authentication errors, and performance bottlenecks. Addressing these challenges requires a systematic approach to identify and resolve the root cause. Below are some troubleshooting tips to help you overcome common hurdles.
Start by verifying the IP address of your Raspberry Pi. Ensure it matches the one entered in your SSH or VNC client. If the connection still fails, check your network settings to confirm that the Raspberry Pi and Mac are on the same subnet. Additionally, inspect firewall rules to ensure they permit incoming connections on the appropriate ports (22 for SSH and 5900 for VNC).
Authentication errors often stem from incorrect passwords or mismatched key pairs. Double-check the credentials entered and, if using SSH keys, ensure the public key is correctly copied to the Raspberry Pi. Performance issues, such as slow response times, may indicate insufficient bandwidth or high CPU usage. Optimizing network settings and closing unnecessary applications can alleviate these concerns.
Can You Resolve Connection Failures?
Connection failures can be frustrating but are often