Are you ready to dive into the world of Raspberry Pi cloud management? If you're here, it means you're curious about how to set up your own cloud server using a Raspberry Pi. Trust me, this isn't just about tinkering with tech—it’s about taking control of your data, cutting costs, and learning something insanely cool in the process.
Picture this: you’ve got files, photos, videos, and documents scattered across multiple devices. Wouldn’t it be great if you could centralize everything in one place without relying on expensive cloud services? That’s where Raspberry Pi comes in. This tiny but mighty device can become your personal cloud server, giving you the freedom to store, access, and manage your data anytime, anywhere.
Now, before we jump into the nitty-gritty details, let me clarify something. Raspberry Pi cloud management isn’t just for tech wizards. Anyone with a bit of curiosity and patience can do it. And guess what? By the end of this tutorial, you’ll have your own cloud up and running, ready to handle all your digital needs. So, buckle up because we’re about to embark on a tech adventure that’s both fun and rewarding.
Read also:Oh Min Hye Celebrity A Rising Star You Need To Know
This tutorial is packed with step-by-step instructions, helpful tips, and real-world examples to ensure you succeed. Whether you’re a beginner or someone looking to level up their Raspberry Pi skills, you’ll find everything you need right here. Let’s make your cloud dreams a reality!
Table of Contents
- Introduction to Raspberry Pi Cloud Management
- Setting Up Your Raspberry Pi for Cloud Management
- Choosing the Right Software for Your Cloud
- Optimizing Storage Solutions
- Securing Your Raspberry Pi Cloud
- Enabling Remote Access
- Maintaining Your Cloud
- Benefits of Raspberry Pi Cloud Management
- Common Challenges and How to Overcome Them
- Conclusion: Take Your First Steps Today
Introduction to Raspberry Pi Cloud Management
When it comes to cloud management, Raspberry Pi offers a cost-effective and customizable solution. Unlike traditional cloud services that charge you monthly fees, Raspberry Pi allows you to build your own private cloud for a fraction of the cost. Plus, you get full control over your data and can tailor the setup to meet your specific needs.
But what exactly is Raspberry Pi cloud management? Simply put, it’s the process of transforming a Raspberry Pi into a cloud server. This involves installing the necessary software, configuring settings, and ensuring everything runs smoothly. With this setup, you can store files, stream media, and even host web applications—all from the comfort of your home.
Why Choose Raspberry Pi for Cloud Management?
There are plenty of reasons why Raspberry Pi is the go-to choice for building a personal cloud. Here are just a few:
- Cost-Effective: Raspberry Pi boards are affordable, making it an ideal option for hobbyists and small-scale projects.
- Energy Efficient: These devices consume minimal power, keeping your electricity bills in check.
- Scalable: You can easily expand your storage capacity by adding external drives or upgrading your hardware.
- Customizable: The open-source nature of Raspberry Pi means you can experiment with different configurations and software.
So, whether you’re looking to replace your Dropbox or set up a home media server, Raspberry Pi cloud management has got you covered.
Setting Up Your Raspberry Pi for Cloud Management
Before you can start managing your Raspberry Pi cloud, you need to set it up properly. This involves several key steps, from choosing the right hardware to installing the operating system. Let’s break it down step by step.
Read also:Aspartame Free Water Packets The Refreshing Solution For Healthconscious Drinkers
Hardware Requirements
First things first, you’ll need the right hardware. Here’s a list of essentials:
- Raspberry Pi 4 Model B (recommended for better performance)
- MicroSD card (at least 16GB, preferably 32GB or higher)
- Power supply with USB-C connector
- Ethernet cable or Wi-Fi adapter (depending on your network setup)
- External hard drive or USB flash drive for storage
Once you’ve gathered all the components, it’s time to move on to the next step.
Installing the Operating System
For cloud management, you’ll want to use an operating system optimized for server tasks. Raspberry Pi OS Lite is a popular choice due to its lightweight nature and ease of use. Here’s how to install it:
- Download the Raspberry Pi Imager tool from the official website.
- Select the Raspberry Pi OS Lite image and choose your MicroSD card.
- Write the image to the card and insert it into your Raspberry Pi.
That’s it! Your Raspberry Pi is now ready to be configured for cloud management.
Choosing the Right Software for Your Cloud
Now that your Raspberry Pi is set up, it’s time to choose the software that will power your cloud. There are several options available, each with its own strengths and weaknesses. Let’s explore some of the most popular ones.
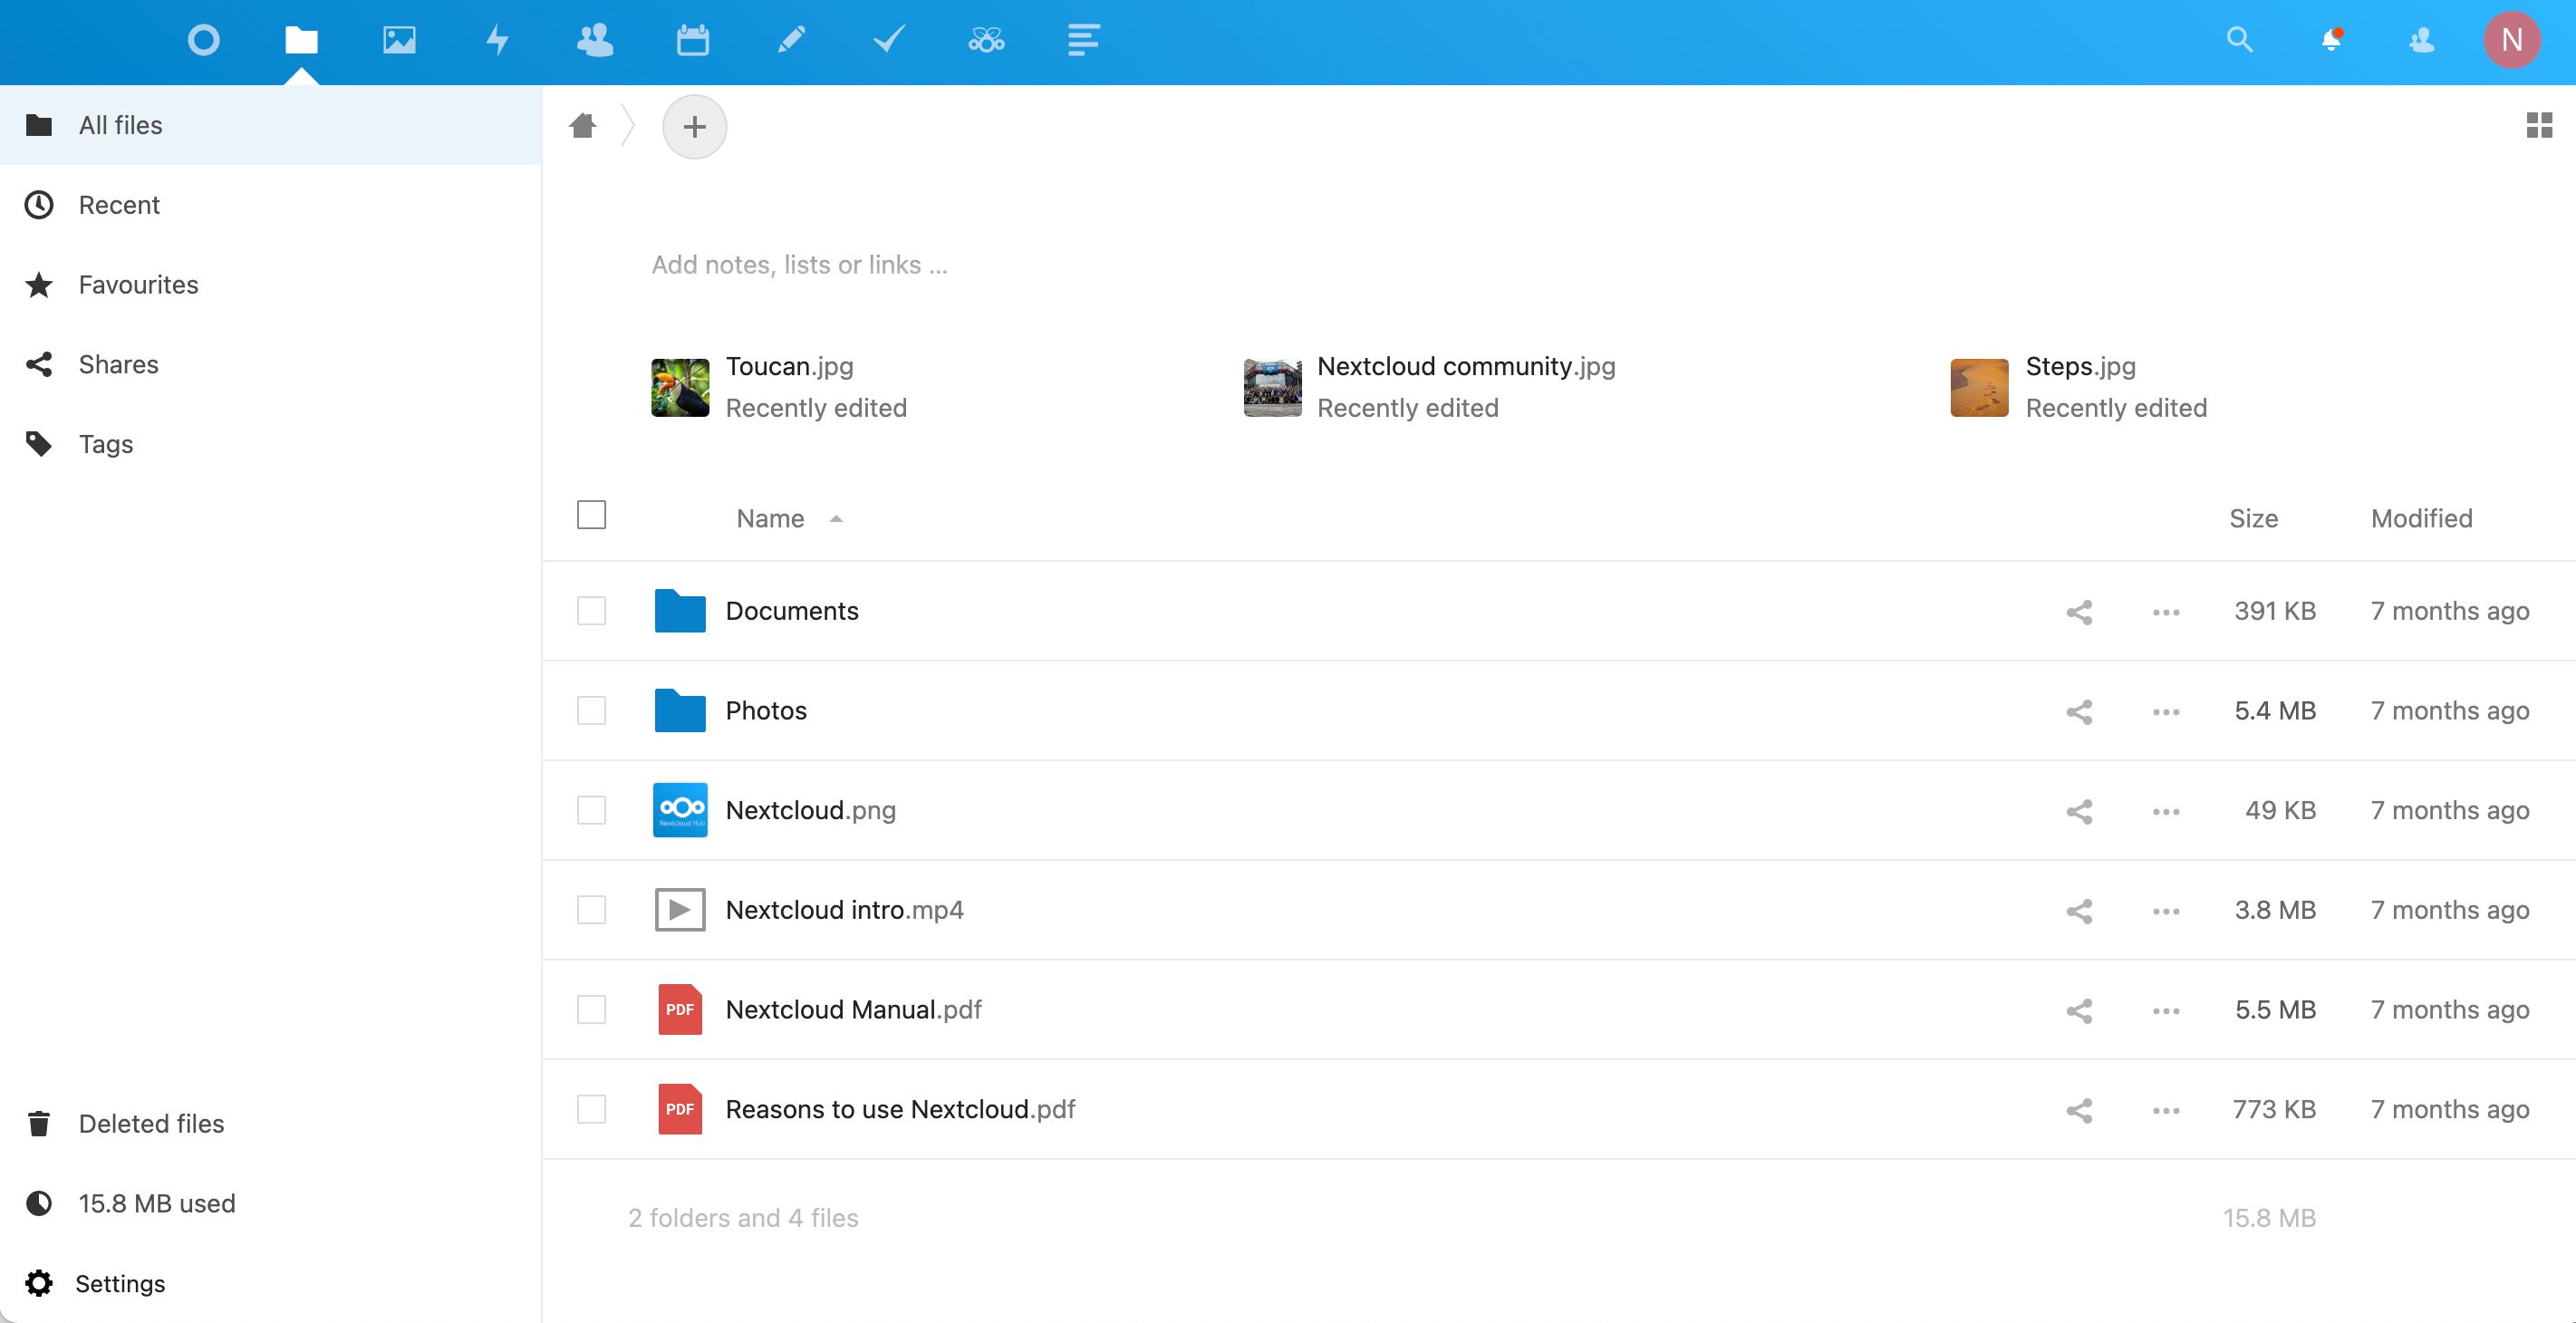
Nextcloud
Nextcloud is a feature-rich open-source platform that allows you to create your own private cloud. It supports file sharing, calendar synchronization, contact management, and much more. Best of all, it’s easy to install and configure on a Raspberry Pi.
OwnCloud
Another excellent choice is OwnCloud, which offers similar functionality to Nextcloud. While it may not be as feature-packed, it’s still a solid option for those looking for a simpler setup.
Seafile
Seafile is a lightweight alternative that focuses on file synchronization and sharing. If you’re primarily interested in storing and accessing files, this might be the perfect solution for you.
Ultimately, the choice depends on your specific requirements and preferences. Experiment with different options to see which one works best for you.
Optimizing Storage Solutions
Storage is a critical component of any cloud setup. To ensure your Raspberry Pi cloud can handle all your data, you’ll need to optimize your storage solution. Here are a few tips to help you get started:
External Hard Drives
Using an external hard drive is one of the most effective ways to increase storage capacity. Make sure to choose a drive that’s compatible with your Raspberry Pi and has enough space to accommodate your files.
Network Attached Storage (NAS)
If you’re looking for a more robust solution, consider setting up a NAS system. This allows multiple devices to access the same storage pool, making it ideal for households or small businesses.
Data Backup Strategies
Don’t forget to implement a reliable backup strategy. Regularly backing up your data ensures that you won’t lose important files in case of hardware failure or other issues.
Securing Your Raspberry Pi Cloud
Security should always be a top priority when managing a cloud. After all, you don’t want unauthorized access to your sensitive data. Here are some measures you can take to secure your Raspberry Pi cloud:
Firewall Configuration
Setting up a firewall is a great way to protect your cloud from external threats. Use tools like UFW (Uncomplicated Firewall) to block unwanted traffic and ensure only authorized connections can access your server.
Encryption
Encrypting your data adds an extra layer of security, making it much harder for hackers to access your files. Most cloud platforms, such as Nextcloud, offer built-in encryption options that are easy to enable.
Regular Updates
Keeping your software up to date is crucial for maintaining security. Regular updates ensure that any vulnerabilities are patched promptly, reducing the risk of exploitation.
Enabling Remote Access
One of the biggest advantages of a Raspberry Pi cloud is the ability to access your data from anywhere. To make this possible, you’ll need to enable remote access. Here’s how:
Setting Up a Static IP Address
A static IP address ensures that your Raspberry Pi always has the same network address, making it easier to connect remotely. You can configure this through your router settings or directly on your Raspberry Pi.
Using Port Forwarding
Port forwarding allows you to access your cloud server from outside your local network. Simply forward the necessary ports on your router to your Raspberry Pi’s IP address.
Dynamic DNS
If your internet service provider assigns dynamic IP addresses, consider using a dynamic DNS service. This will give you a consistent domain name that always points to your Raspberry Pi, even if your IP address changes.
Maintaining Your Cloud
Maintaining your Raspberry Pi cloud is essential for ensuring its longevity and reliability. Here are some best practices to follow:
Regular Monitoring
Keep an eye on your cloud’s performance by monitoring resource usage, disk space, and network activity. Tools like htop and df can help you stay informed about your server’s health.
Automating Tasks
Automating routine tasks, such as backups and updates, can save you time and reduce the risk of human error. Use cron jobs to schedule these tasks and ensure they’re performed regularly.
Documentation
Documenting your setup and any changes you make is a good habit to get into. This will make troubleshooting easier and help you remember important details in case you need to revisit them later.
Benefits of Raspberry Pi Cloud Management
There are numerous benefits to managing your own Raspberry Pi cloud. Here are just a few:
- Data Privacy: Keep your data private by hosting it on your own server instead of relying on third-party services.
- Cost Savings: Eliminate monthly subscription fees by building your own cloud solution.
- Flexibility: Customize your cloud to suit your needs and integrate it with other devices and services.
- Learning Opportunity: Gain valuable skills in server management, networking, and cybersecurity.
These benefits make Raspberry Pi cloud management a worthwhile investment for anyone interested in taking control of their digital life.
Common Challenges and How to Overcome Them
While Raspberry Pi cloud management is rewarding, it does come with its own set of challenges. Here are some common issues and how to tackle them:
Hardware Failures
Hardware failures can happen, especially if you’re using low-cost components. To mitigate this risk, invest in quality hardware and regularly back up your data.
Software Issues
Software bugs and compatibility problems can arise, but they’re usually easy to fix. Stay updated with the latest software versions and consult online forums or documentation for troubleshooting tips.
Learning Curve
If you’re new to server management, there may be a steep learning curve. Don’t worry—there’s a wealth of resources available online to help you get up to speed. Start with the basics and gradually build your knowledge over time.
Conclusion: Take Your First Steps Today
And there you have it—a comprehensive guide to Raspberry Pi cloud management. By following the steps outlined in this tutorial, you’ll be well on your way to setting up your own personal cloud. Remember, the key to success is persistence and a willingness to learn. Don’t be afraid to experiment and explore new possibilities.
So, what are you waiting for? Grab your Raspberry Pi, gather your tools, and start building your cloud today. And don’t forget to share your experience with us in the comments below. Who knows? You might just inspire someone else to take the plunge and join the Raspberry Pi revolution!