Ever wondered how to can potatoes without a pressure cooker? Let’s face it, not everyone has one of those fancy machines sitting around in their kitchen. But guess what? You can still preserve those spuds like a pro without breaking a sweat. Whether you’re a seasoned homesteader or just someone trying to stock up on food, this guide’s got your back. So, let’s dive in and learn how to make canned potatoes work for you!
Canning potatoes might sound intimidating, but trust me, it’s not rocket science. All you need is some basic equipment, a little patience, and the right technique. By the end of this article, you’ll have the confidence to can potatoes like a champ, no pressure cooker required. Plus, you’ll save money and reduce food waste—win-win!
Before we get started, it’s important to remember that safety comes first. Canning involves heat and water, so make sure you follow the steps carefully. We’ll cover everything from preparation to storage so you can enjoy those canned potatoes whenever the craving hits. Now, let’s get our hands dirty—or should I say, peel-y!
Read also:Mastering The Art Of Masc Eyeliner Your Ultimate Guide
Why Can Potatoes Without a Pressure Cooker?
Let’s talk about why you’d want to can potatoes without a pressure cooker in the first place. For starters, pressure cookers aren’t exactly cheap, and not everyone has the space or budget for one. Plus, sometimes you just want to keep things simple. Canning potatoes the old-fashioned way gives you total control over the process, and it’s a great skill to have in your back pocket.
Another reason? Versatility. Canned potatoes can be used in soups, stews, casseroles, and more. They’re perfect for emergency situations or when you’re craving comfort food but don’t feel like peeling and boiling fresh potatoes. So, if you’re ready to take your pantry game to the next level, let’s explore the how-to!
What You’ll Need to Can Potatoes Without a Pressure Cooker
Before you start canning, gather your tools and materials. Here’s a quick checklist:
- Fresh potatoes (russet, Yukon gold, or any variety you prefer)
- A large pot with a lid
- Canning jars with lids and bands (make sure they’re clean and sterilized)
- A sharp knife and cutting board
- Water
- A canning rack or trivet (optional but recommended)
- A timer
Pro tip: Always inspect your jars for cracks or chips before using them. Safety first, folks!
Step-by-Step Guide to Canning Potatoes
1. Selecting the Right Potatoes
Not all potatoes are created equal when it comes to canning. Stick with starchy varieties like russets or Yukon golds for the best results. These types hold their shape well during the canning process and have a delicious flavor once they’re ready to eat. Avoid waxy potatoes, as they tend to break apart during canning.
2. Preparing the Potatoes
Once you’ve chosen your spuds, it’s time to prep them. Start by washing the potatoes thoroughly to remove dirt and debris. Then, peel them using a vegetable peeler or sharp knife. Cut the potatoes into evenly sized chunks—this ensures they cook evenly during the canning process.
Read also:How To Change Voice On Tiktok A Beginnerrsquos Guide To Remixing Your Sound
Here’s a tip: If you’re working with a large batch, soak the peeled potatoes in cold water to prevent browning while you prepare the rest.
3. Sterilizing the Jars
Sterilization is key to successful canning. To sterilize your jars, place them in a large pot of boiling water for at least 10 minutes. Use tongs to remove the jars and let them air dry or place them on a clean towel. Don’t skip this step—it prevents contamination and ensures your canned potatoes stay fresh for months.
4. Boiling the Potatoes
Now it’s time to boil those spuds. Fill a large pot with water and bring it to a boil. Add the prepared potato chunks and cook them for about 5-7 minutes, just until they’re tender but not falling apart. Drain the potatoes and set them aside while you prepare the jars.
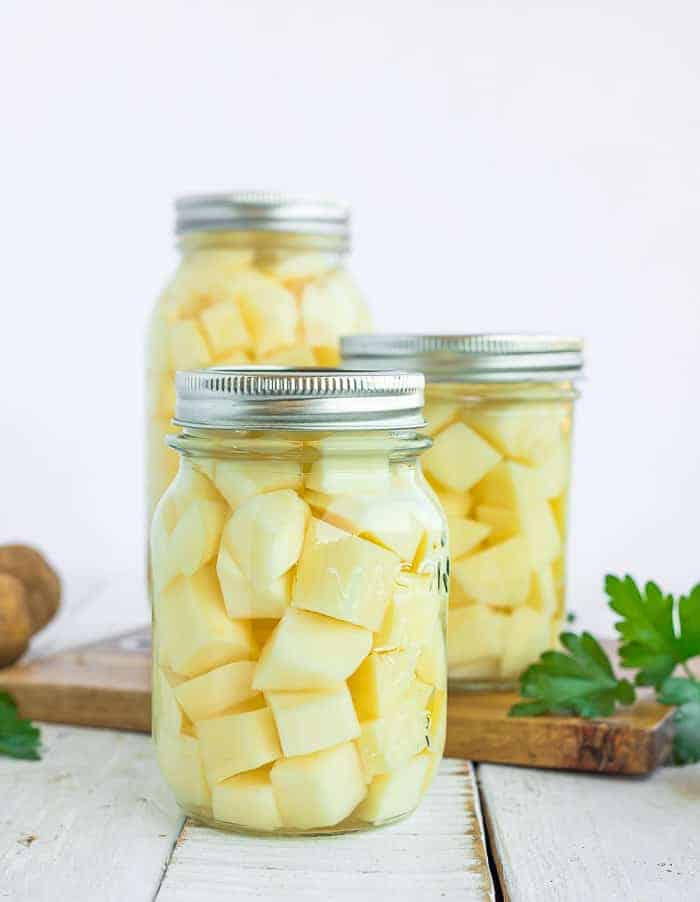
5. Packing the Jars
Packing the jars is where the magic happens. Place the cooked potatoes into the sterilized jars, leaving about 1 inch of headspace at the top. Add a pinch of salt to each jar if you like, but it’s optional. Fill the jars with hot water, making sure the potatoes are fully submerged.
6. Sealing the Jars
Once your jars are packed, wipe the rims with a clean, damp cloth to remove any residue. Place the lids on top and screw the bands on tightly but not too tight—you want to allow for some air to escape during processing. Now your jars are ready for the next step.
7. Processing the Jars
Processing is the final step in the canning process. Fill a large pot with water and bring it to a boil. Carefully place the sealed jars into the pot using a jar lifter or tongs. Make sure the jars are fully submerged and not touching each other. Boil the jars for 30-40 minutes, depending on your altitude.
Here’s a fun fact: If you live at a higher altitude, you’ll need to increase the processing time to ensure the potatoes are safely preserved. Always check a trusted canning guide for specific instructions based on your location.
8. Cooling and Storing
After processing, carefully remove the jars from the pot and place them on a towel to cool. You should hear a satisfying “pop” as the jars seal. Once the jars are completely cool, check the seals by pressing down on the center of each lid. If it doesn’t move, you’ve got a perfect seal! Store your canned potatoes in a cool, dark place for up to a year.
Tips and Tricks for Successful Canning
Canning potatoes without a pressure cooker is easy, but there are a few tips to keep in mind:
- Use fresh, high-quality potatoes for the best results.
- Don’t overfill the jars—leave enough headspace for the potatoes to expand during processing.
- Always sterilize your jars and equipment to prevent contamination.
- Label your jars with the date so you know when they were canned.
- Store canned potatoes in a cool, dry place away from direct sunlight.
By following these tips, you’ll ensure your canned potatoes are safe, delicious, and ready to use whenever you need them.
Common Mistakes to Avoid
Even the best canners make mistakes sometimes. Here are a few common errors to watch out for:
- Not sterilizing the jars properly
- Overfilling the jars, which can cause them to crack during processing
- Using waxy potatoes that break apart during canning
- Skipping the processing step, which can lead to spoilage
- Storing canned potatoes in a warm or humid environment
Remember, canning is all about safety and quality. Take your time and follow the steps carefully to avoid these pitfalls.
Health Benefits of Canned Potatoes
Canned potatoes aren’t just convenient—they’re also packed with nutrients. Potatoes are a great source of vitamin C, potassium, and fiber. Plus, they’re low in fat and calories, making them a healthy addition to any meal. By canning your own potatoes, you can enjoy these benefits year-round without worrying about preservatives or additives.
Fun fact: Potatoes are one of the most versatile vegetables out there. They can be mashed, roasted, fried, or used in soups and stews. So, whether you’re cooking for one or feeding a crowd, canned potatoes are a pantry staple you’ll be glad to have.
Where to Find Quality Potatoes
When it comes to canning, the quality of your ingredients matters. Look for fresh, locally grown potatoes at your nearest farmers’ market or grocery store. If you have space, consider growing your own potatoes—they’re surprisingly easy to cultivate and taste amazing fresh from the garden.
Pro tip: Store-bought potatoes are often treated with chemicals to prevent sprouting. If you’re planning to can a large batch, try to find untreated potatoes for the best results.
Final Thoughts and Call to Action
There you have it—how to can potatoes without a pressure cooker, step by step. Canning is a rewarding and practical skill that everyone should learn. Not only does it help you save money, but it also ensures you have delicious, homemade food on hand whenever you need it.
Now it’s your turn! Grab those potatoes, gather your supplies, and get canning. Don’t forget to share your results in the comments below—we’d love to hear about your canning adventures. And if you found this guide helpful, feel free to share it with your friends and family. Happy canning, folks!
Table of Contents
![Boil Potatoes Without Pressure Cooker [Pics] inHouseRecipes](https://www.inhouserecipes.com/wp-content/uploads/2014/01/check-with-knife1.jpg)